22nd August 2015 by Alice Ralph
Here at Wired Canvas HQ we spend a lot of our time building websites for art galleries, creative industries and small businesses. Because of this, we tend to get a lot of enquiries from artists who need a website of their own. Sometimes hiring professional web designers to build a custom portfolio site is often not achievable within the budget of freelance artists. Instead we have put together this article to help artists find a solution that is both affordable and suitable for them.
There are loads of services out there that offer cheap (or in some cases free) out-of-the-box websites for artists, such as Cargo Collective, Dunked or Squarespace.
However, if you are an artist who is hoping to present yourself more professionally or uniquely, or have particular requirements that need a custom-designed website, there are fewer options available without breaking the bank. In this article we are going to focus on how to make your own artist website with the following requirements:
- Custom design: control the style and layout yourself
- Affordable: keeping costs low
- Update-able: easily add or edit content yourself
- Expandable: the ability to add more functionality in future
Firstly I am going to run through the pros and cons of the other options out there and why building a custom artist website might be a better option for you…
Disadvantages of free websites for artists
Like I said before, there are plenty of free or affordable 'out of the box' website packages out there. The benefit is that they are usually very cheap, or have a free basic package option. However there are lots of draw backs from choosing a free website, including:
- Limited options: With out-of-the-box websites, you are immediately limited in terms of layouts, styling, storage and bandwidth. Limited storage means you can only upload so many files, whilst bandwidth means your visitors can only download limited files. If you suddenly had a surge in visitors then you could go over your bandwidth limit and your site could be blocked until you upgraded to a higher account. You are also limited in your ability to add new feature or layouts, as your business requirements grow and change over time.
- Adverts: Many free website builders make their profits by displaying adverts on your website, or charge you to remove them. Boo!
- They don't look professional: Don’t forget that potentially hundreds of other artists – amateur and professional – may be using the same website design as you, and the template choices are often very basic.
- Flash: When I was researching this article, I found that many website builders still use Flash for their out of the box websites. Flash is incompatible with iPads and iPhones, so many visitors can’t see your website at all if they are using mobile devices. Flash is also slow, difficult to navigate and can’t be read easily by Google – so you may not appear very highly (or at all!) in Google search results. Do not use a Flash website if you want a successful artist portfolio website!
Advantages of a custom artist website
For most businesses, having an effective website is an essential tool for marketing, customer service and sales. As an artist, having a strong portfolio website is equally important, especially if you are promoting your work or want to appeal to potential clients or galleries.
Whether you are selling your work online, or using your site as a place to document your work and share your resume, you should keep in mind that one of the first things new contacts will do is ‘google you’. Having a strong web presence can be essential when presenting yourself as a professional artist:
- Custom design: With a custom website you can control the website design completely so that it reflects your own work and style.
- Full control: Most ‘free’ website packages will limit you in terms of layout, image uploads or functionality, whereas with a custom website you can have total control of the site.
- No adverts: There is no space for adverts on a professional artist portfolio website. You want to draw attention to your own work, not point people in the direction of other peoples businesses.
- Grow your website: As your portfolio and creative business grow, you will want your website to expand with you. Down the line you may want to add new features, and with a custom website you can take full ownership of your online presence without being tied in to any packages or subscriptions.
- Affordable: So long as you are willing to invest a little time in learning how to build and manage your site, you will save a lot more money in the long-term because you can update the website yourself rather than relying on paid platforms.
- It's fun! Once you know how to create a simple artist portfolio website for yourself, you will have the skills and knowledge to build websites for all kinds of projects - perhaps your next art show, or for friends and peers.
A custom website will give you the opportunity to stand out from the crowd and present your work in a professional light.
Creating an artist website in WordPress
There are a number of suitable open-source CMS systems out there available to you but we are going to focus on using WordPress because we believe it is highly suited for affordable artist portfolio websites. It is a powerful and reliable system that allows you to easily manage and update your own website. If you're still not convinced, consider this; over 20% of new websites are now built using WordPress!
The difference between Wordpress.com and Wordpress.org
Many people get confused between the two so I will just explain briefly before we start. Wordpress.com is a hosted version of WordPress that allows you to set up a free online blog very quickly and easily, in a similar way that Blogger, Tumblr or LiveJournal work. It offers you a limited selection of free and premium templates to use, but if you want a custom design, your own domain (eg. www.yourname.com), or get rid of the adverts, then you will need to pay for their premium features.
Alternatively you can visit Wordpress.org and download the WordPress software for free, which you can install and run on your own server. This gives you much more control over your own website, and is the option that we are focusing on in this article.
So, with no further ado…
How to build an artist website in WordPress
1. Hosting and Domain
You will first need to buy some hosting and a domain (eg. www.yourname.com). Many hosting companies include a free domain when you sign up. There are loads of good hosting companies out there so shop around for the right deal for you.
However if you are not expecting Facebook-esque levels of traffic then something like Bluehost* would probably suffice; their web hosting package includes a free domain, offers a one-click install option for WordPress and unlimited storage for $4.95 a month (around £3.20 a month - this is an affiliate link)
Tip: When choosing your hosting company, try to look out for:
- Cost: Don’t just go for the cheapest hosting. You get what you pay for in the hosting world.
- Reliability: Most hosting companies give an up-time statement.
- Support: Are you able to phone them and discuss any problems that you may have?
- Package: Go for a Linux package. It’s cheaper, and WordPress runs better on it.
We would recommend Bluehost* because it has all of the following features:
- Free domain: Save money buy purchasing your hosting and domain from the same provider.
- Easy 1-click Wordpress Installation: We'll explain this in more detail below - but it is a big time saver!
- 24/7 Support: There are in-house support teams available to talk to at any time of day or night.
- Very affordable: If you use this link* then Wordpress hosting is just $3.49 per month (around £2.25 at the time of writing), so it won't break the bank. *This is an affiliate link.
- Optimised for Wordpress: Bluehost* systems are entirely optimised for Wordpress. *This is an affiliate link.
2. Choosing a domain name
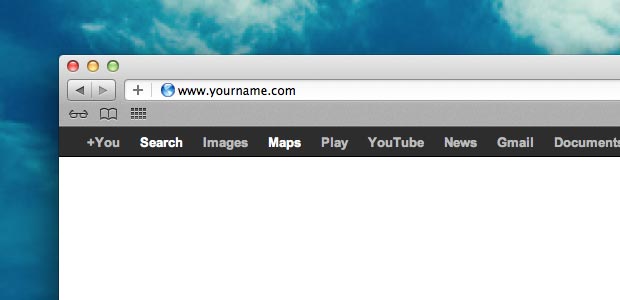
When choosing your domain name, try to select something memorable and easy to spell. Also think about Google search results; if somebody is trying to find your artist website then it is likely that they will do a Google search for your name – so it would make sense to use www.yourname.com; or if that is taken then www.yournameart.com. Try not to make it too long - www.yournameartandphotography.com is likely to be misspelt by visitors typing it into their browser, and is also somewhat limiting. For example, what if you decide you want to explore film-making in future? www.yournameartandphotography.com isn't going to cut it anymore! We'd recommend keeping it as short, simple and open as possible, to allow for growth and changes in your business.
Tip: Before you settle on a domain name, try searching for similar search terms in Google, and check what other companies or results come up. Find something unique but memorable! You can also use Whois.net to see if your domain name been registered already.
3. Installing WordPress
There are two ways to install WordPress...
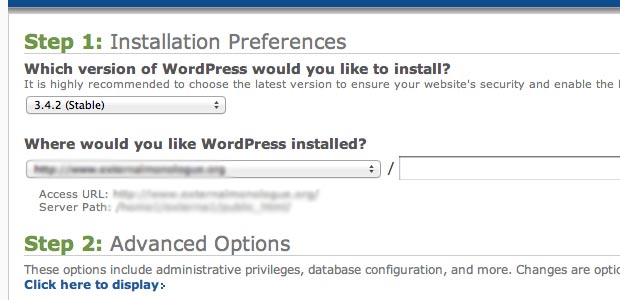
Firstly, Bluehost* makes it very easy to install WordPress with just a couple of clicks – just follow these very simple steps on their website. Unless you already understand databases, make sure you select ‘Automatically create a new database’ which will do all the hard work for you! Once this is done, you can skip onto Step 4. (NB: These are affiliate links)
Alternatively, if you are using a different hosting platform, check if they have a similar one-click install option for WordPress. Some hosts offer cPanel hosting which enables you to install WordPress through an application called Fantastico Deluxe contact your host to see if they offer this. Once this is done, you can skip onto Step 4.
If not, grab a cup of tea (and some biscuits, of course) and make yourself comfortable…

Installing Wordpress manually
(NB: If your web host offers 1-click Wordpress installation, see the steps above and skip on to Step 4!)
Log in to your hosting admin panel and locate the Databases section. Go to MySQL Databases and create a new Database and User. Make sure that the User password is complex and includes a mixture of numbers, letters and symbols – you don’t want your database to get hacked! Make a note of it and don’t lose it. Add the User to the Database so that they have full access privileges to that database. Follow these Wordpress instructions if you need a more thorough explanation.
Now you need a copy of the WordPress software. Visit Wordpress.org and download the latest stable release. Unzip the folder and keep it on your desktop.
You will now need to log in to your web hosting via an FTP client. When you signed up to your hosting you should have been given your FTP details – if not visit the FTP Accounts section of your hosting admin and create a new account. Use these details to connect to your hosting and upload the WordPress files to your public_html folder.
Now when you visit your domain (ie.www.yourname.com) you should just be able to follow the WordPress installation instructions on-screen and connect to your database. Simples!
Tip: WordPress offer loads of valuable free how-to guides for beginners on their website - for example this useful guide to installing WordPress.
4. Choosing a theme
Now that WordPress is installed on your domain www.yourname.com - you can log in to the admin back-end. Visit www.yourname.com/wp-admin and enter the administrator username and password that you set up previously. Give yourself a pat on the back – you just installed WordPress on your own server! Now for the fun bit – choosing a theme.
Web design companies like ;Wired Canvas (that's us!) can build completely custom WordPress themes from the ground up, tailored to your exact style, branding and functionality requirements. However if you are an artist on a budget, you may want to purchase a WordPress theme and tweak it yourself to suit your needs.
There are thousands of WordPress themes, both free and premium out there, so it can be hard to know where to start looking. We'd recommend starting your search at:
We have also done a little research on a few beautiful portfolio themes suitable for artists portfolio websites:
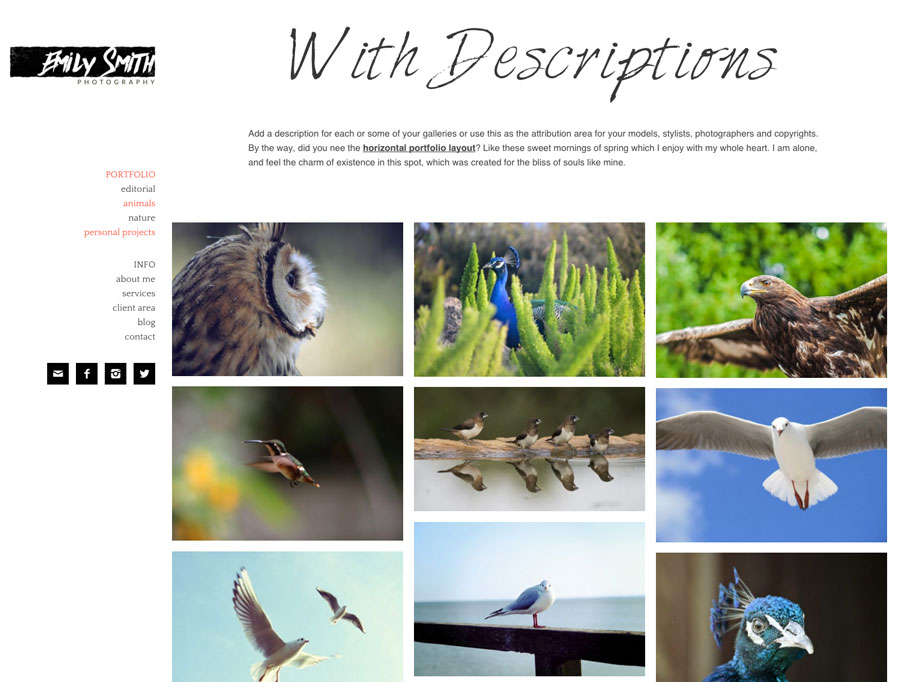
Emily - $49 (about £31)
Emily is an elegant, stylish option for an artists' portfolio site, with unlimited number of portfolio galleries. It is responsive and has extensive documentation - making it very suitable for people who are less confident in Wordpress!
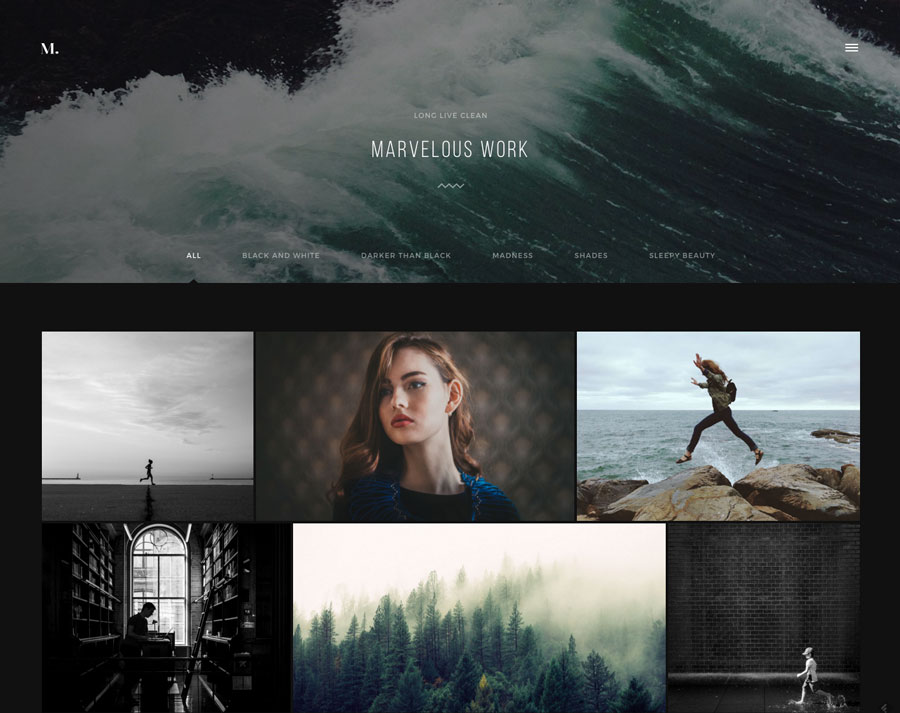
Turin - $49 (about £31)
Turin is a beautiful responsive theme built for photographers. It has loads of different layout options, including fullscreen images and videos and grid portfolio options in both 'light' and 'dark' themes.
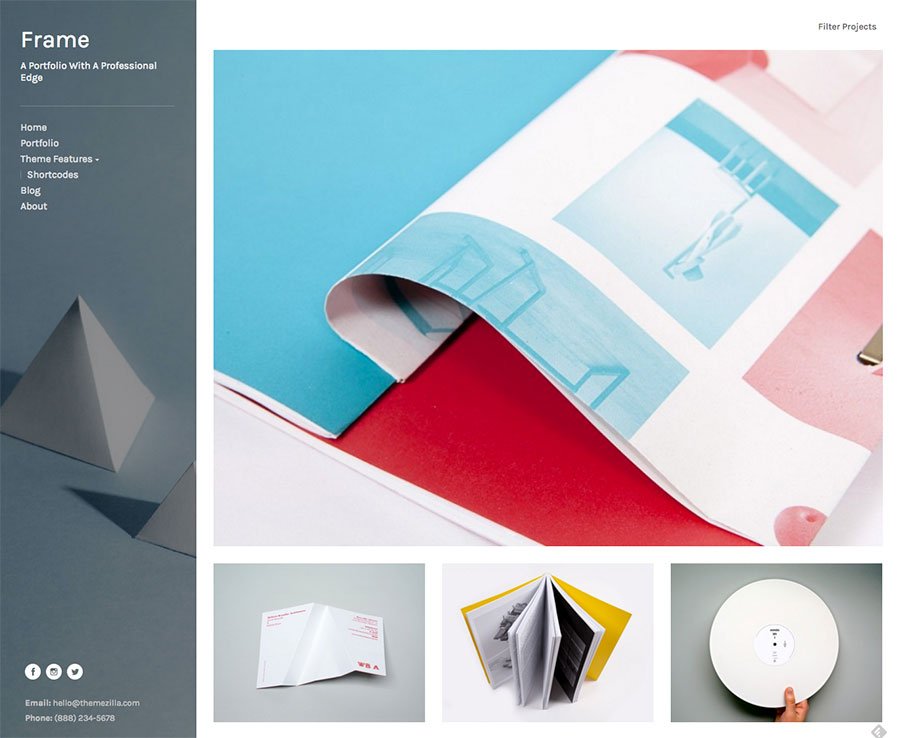
Frame - $59 (about £38)
Themezilla always produce amazing, high-quality WordPress themes and their new theme for photographers, Frame, looks like another winner! This would be particularly good for graphic designers or illustrators, but could equally work well for
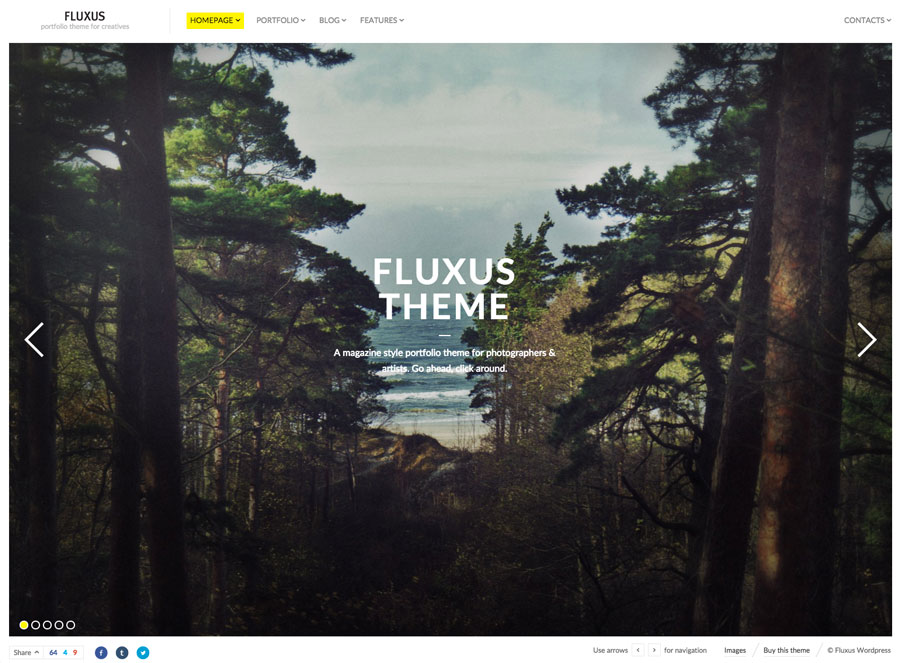
Fluxus - $49 (about £31)
Fluxus is a lovely full-screen image website, built with photographers in mind but would work equally well for painters or other visual artists. It also has a great blog format, so would work particularly well if you are planning to publish a blog on your website.
Sunday - $59 (about £38)
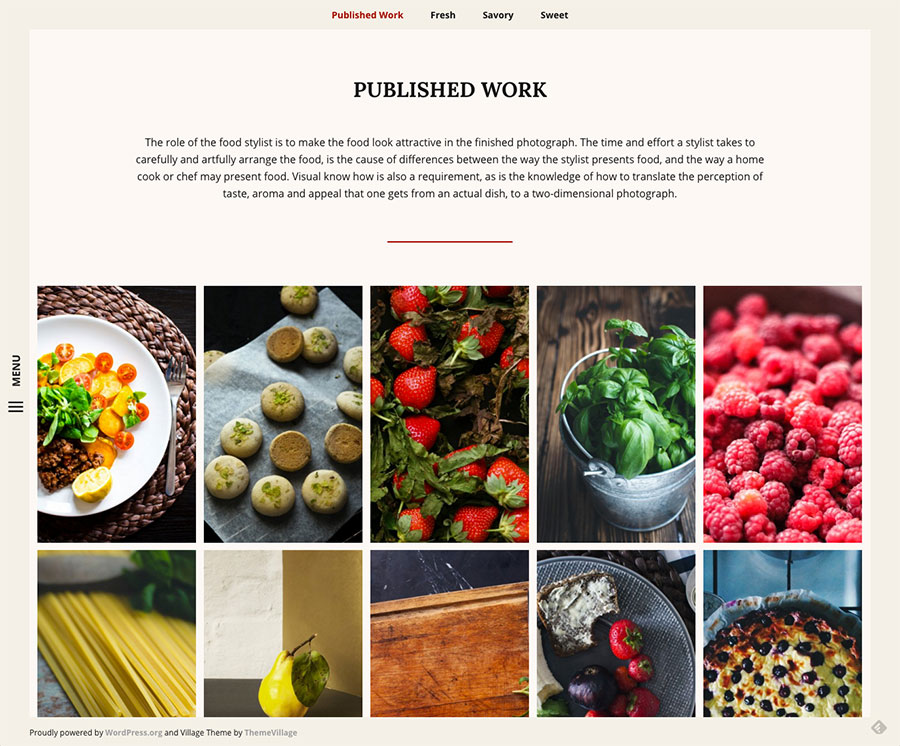
Sunday is a very simple portfolio Wordpress artist's theme, designed for food photographers but would work equally well for any visual artist. The theme is warmer than the themes listed above, so would work well for an artist who wants to present a friendlier, warmer and more organic feel. I really love the fullscreen gallery option, as well as the cropped grid, which provides consistency throughout.
5. Installing your WordPress theme
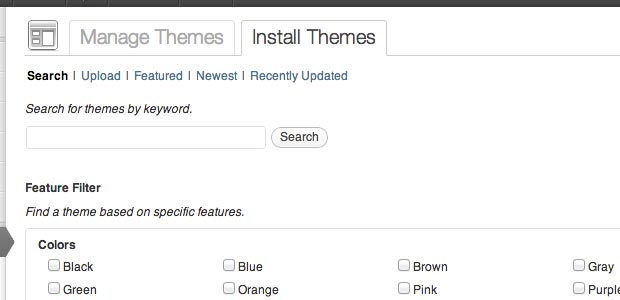
One you have selected and downloaded your theme, you will need to install it. Visit Appearance > Themes > Install Themes and select the .zip file of your theme from your computer. Alternatively, if you have FTP access to your server, copy your theme folder to www.yourname.com/wp-content/themes.
Once you have uploaded your theme, go to Appearance > Themes and activate your new theme. Depending on your theme's options, you may need to set up various settings and configurations, such as adding your own logo or changing the colours and layout.
Tip: If you have any problems, please contact the author of the theme as most premium theme developers offer support or have support forums.
6. Adding your content
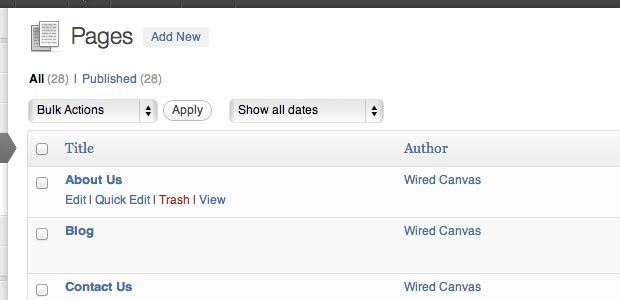
Here you can create static Pages such as ‘About’ or ‘Contact’ and create blog Posts. Once you have uploaded your content you can create your Menus by visiting Appearance > Menus and dragging and dropping your content into the navigation.
Make sure you include an easy way for people to contact you, and don't forget about your resume/CV! Have a think; what sort of information might your website visitors want to see?
Tip: Search engines like Google can’t “see” images but rely on words to find your website. The less words you have, the less likely it is that you will appear in Google search results. Make sure you include descriptions for all of your images (including ‘alt’ and ‘title’ tags), and consider setting up a blog section in your WordPress site, which will help increase visitors.

7. Pimping your artist website
One of the great things about WordPress is that it offers thousands of plugins (mostly free) which you can add to your site to improve functionality or add new features. To install a plugin, go to Plugins > Add New in your WordPress admin panel, and install just like you did with your theme. Alternatively you can copy the folder into the www.yoursite.com/wp-content/plugins folder through your FTP client. Go to Plugins to activate your installed plugins.
A few plugins that we would recommend starting with for a basic artists website:
- Portfolio Slideshow
This is one of the cleanest, professional-looking portfolio options for WordPress. - NextGEN Gallery
NextGEN is the most popular photo gallery plugin for WordPress (5 million downloads can’t be wrong!), and will add a very simple and powerful gallery option to your posts and pages. - Yoast WordPress SEO Plugin
Yoast SEO is an incredibly useful tool. It allows you to control how your website will appear in Google search results, making it easy to target your correct keywords. - ShareThis
Allow your visitors to share your work on their social networks (Facebook, Twitter etc) to increase traffic to your website. - Contact Form 7
You would be surprised by how many artists forget to include a way for their website visitors to contact them. Make sure you include a telephone number (mobile is fine), an online contact form and a business/studio address if you can. - Advanced Custom Fields
This may be getting a bit techy, but if you have some basic understanding of PHP coding and are comfortable editing your theme, then Advanced Custom Fields is a really excellent plugin that opens up the functionality and flexibility of your website. It allows you to add custom fields (such as artwork dimensions, pricing, 'SOLD'/'Available' labels etc) to your content types, and then add these to your theme. It really blows wide open the potential for your site.
Tip: Require a particular piece of functionality on your website? Try searching for plugins in the WordPress Plugin Directory – there’s nearly 22,000 to choose from!
8. That’s it!
By now you should have a professional-looking artist website built in WordPress, with your own hosting and domain. Well done! Now it’s time to share your new website with all your contacts.
Tip: Add Google Analytics to your website to keep an eye on how many visitors you are getting. Use the Google Analytics for Wordpress plugin to sync it easily with your website.
Let us know in the comments below if you found this guide helpful or if there’s any tips that we overlooked. If you found it useful, please share it with other artists who may find it valuable. If the above guide still doesn't help meet your needs, please contact us about having a professional custom website built for you.


